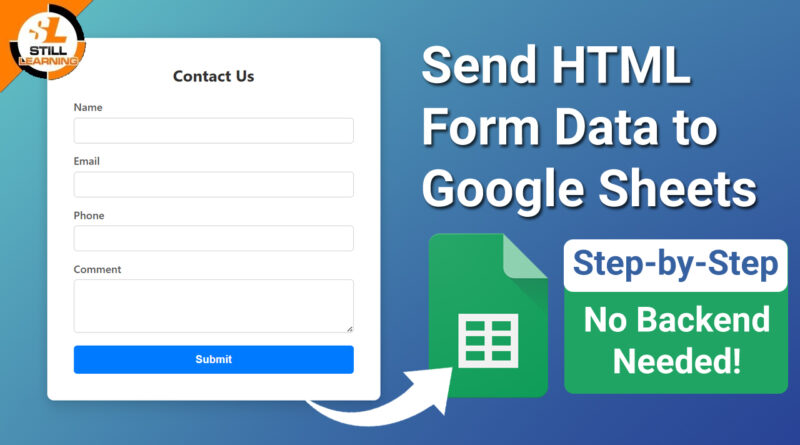
Send HTML Form Data to Google Sheets | Step-by-Step Guide (No Backend Needed!)
Are you looking to collect form submissions without setting up a backend or using a database? Whether it’s for a contact form, registration form, or survey — you can easily send HTML form data directly to Google Sheets, absolutely no backend required!
In this step-by-step guide, you’ll learn how to connect an HTML form to Google Sheets using Google Apps Script.
📌 What You’ll Learn
- Create a Google Sheet for storing form responses
- Write a simple HTML form
- Use Google Apps Script to receive and store the form data
- Deploy the script as a web app
- Test and collect submissions
HTML
The HTML code below creates a form that enables users to enter their name, phone number, and email address. It includes input fields and a text area for collecting user information. The form is styled using an external CSS file and enhanced with a JavaScript file that handles form submission.
<body>

  <div class="form-container">
    <h2>Contact Us</h2>
    <form action="" method="post" name="contact-form">
      <div class="form-group">
        <label for="name">Name</label>
        <input type="text" name="Name" required />
      </div>

      <div class="form-group">
        <label for="email">Email</label>
        <input type="email" name="Email" required />
      </div>

      <div class="form-group">
        <label for="phone">Phone</label>
        <input type="text" name="Phone" required />
      </div>

      <div class="form-group">
        <label for="comment">Comment</label>
        <textarea name="Comment" required></textarea>
      </div>

      <button type="submit">Submit</button>
    </form>
  </div>

</body>
Key Features of the HTML Form:
- Form Structure:
Includes text input fields for name, phone number, and email, along with a textarea for users to enter a detailed message. A submit button is provided to initiate the form submission. - User-Friendly Design:
Placeholders are used within input fields instead of traditional labels, offering a cleaner and more intuitive user experience. - External File Integration:
Linked CSS and JavaScript files ensure a well-styled, responsive layout and handle form submission functionality.
CSS
The CSS styles the contact form to ensure a professional appearance and responsive layout across different devices.
  * {
      box-sizing: border-box;
      margin: 0;
      padding: 0;
    }

    html {
      height: 100%;
      font-family: 'Segoe UI', Tahoma, Geneva, Verdana, sans-serif;
      background: linear-gradient(135deg, #74ebd5, #223590);
      display: flex;
      align-items: center;
      justify-content: center;
    }

    .form-container {
      background-color: white;
      padding: 40px;
      border-radius: 10px;
      box-shadow: 0 4px 15px rgba(0, 0, 0, 0.2);
      width: 500px;
    }

    .form-container h2 {
      text-align: center;
      margin-bottom: 20px;
      color: #333;
    }

    .form-group {
      margin-bottom: 15px;
    }

    label {
      display: block;
      margin-bottom: 6px;
      font-weight: 600;
      color: #555;
    }

    input[type="text"],
    input[type="email"],
    textarea {
      width: 100%;
      padding: 10px;
      border: 1px solid #ccc;
      border-radius: 5px;
      font-size: 14px;
      transition: border-color 0.3s ease;
    }

    input[type="text"]:focus,
    input[type="email"]:focus,
    textarea:focus {
      border-color: #007bff;
      outline: none;
    }

    textarea {
      resize: vertical;
      min-height: 80px;
    }

    button {
      width: 100%;
      padding: 12px;
      background-color: #007bff;
      color: white;
      border: none;
      border-radius: 5px;
      font-size: 16px;
      font-weight: bold;
      cursor: pointer;
      transition: background-color 0.3s ease;
    }

    button:hover {
      background-color: #0056b3;
    }
JavaScript
The JavaScript file enables the form to send data to Google Sheets through the specified Google Apps Script URL. After a successful submission, it shows a confirmation message and then reloads the page.
const scriptURL = 'Google App Script URL'

const form = document.forms['contact-form']

form.addEventListener('submit', e => {

  e.preventDefault()

  fetch(scriptURL, { method: 'POST', body: new FormData(form)})
  .then(response => alert("Your form has been successfully submitted. We truly appreciate your interest and will be in touch with you shortly." ))
  .then(() => { window.location.reload(); })
  .catch(error => error('Error!', error.message))
})
App Script
This Apps Script manages the backend processing for saving submitted form data into a Google Sheet. It includes functions to initialize the script, handle incoming data, and securely store it in the proper format.
const sheetName = 'Google Name'
const scriptProp = PropertiesService.getScriptProperties()

function intialSetup () {
  const activeSpreadsheet = SpreadsheetApp.getActiveSpreadsheet()
  scriptProp.setProperty('key', activeSpreadsheet.getId())
}

function doPost (e) {
  const lock = LockService.getScriptLock()
  lock.tryLock(10000)

  try {
    const doc = SpreadsheetApp.openById(scriptProp.getProperty('key'))
    const sheet = doc.getSheetByName(sheetName)

    const headers = sheet.getRange(1, 1, 1, sheet.getLastColumn()).getValues()[0]
    const nextRow = sheet.getLastRow() + 1

    const newRow = headers.map(function(header) {
      return header === 'Date' ? new Date() : e.parameter[header]
    })

    sheet.getRange(nextRow, 1, 1, newRow.length).setValues([newRow])

    return ContentService
      .createTextOutput(JSON.stringify({ 'result': 'success', 'row': nextRow }))
      .setMimeType(ContentService.MimeType.JSON)
  }

  catch (e) {
    return ContentService
      .createTextOutput(JSON.stringify({ 'result': 'error', 'error': e }))
      .setMimeType(ContentService.MimeType.JSON)
  }

  finally {
    lock.releaseLock()
  }
}
In this guide, you learned how to effortlessly send HTML form data directly to Google Sheets without needing a backend server. By leveraging Google Apps Script, you can create a simple web app that accepts POST requests from your form and stores submissions in a spreadsheet — making data collection easy, free, and accessible. This method is perfect for contact forms, surveys, or any data collection needs, especially if you want to avoid complex backend setups.
The step-by-step instructions walked you through creating the Google Sheet, writing the Apps Script, deploying it as a web app, and connecting your HTML form with JavaScript to send data. Plus, the solution is customizable and scalable, with automatic timestamping and room for enhancements like validations or notifications. If you have any concerns or questions, just comment below — I’m happy to help!


